Izenda Wiki

This documentation is for the legacy Izenda 6 product. Documentation for the new Izenda 7 product can be found at https://www.izenda.com/docs/
Introduction
Izenda reports includes a flexible API that can be configured to integrate with your application. This guide covers most of the basic elements that are needed to apply branding and security to the majority of applications. Before beginning, make sure that Izenda Reports can properly connect to your database when setup as a stand-alone virtual directory.
Please watch our ten minute integration video to see how to do a core integration with Visual Studio (redirects to Youtube):
Izenda Reports Quick Setup
To integrate Izenda into your own website, you will first need a development environment, such as Visual Studio. Once you have a development environment, you can get our website template from here. Once you have followed the steps there, return here and find out more about how you can get started using Izenda Reports.
Configuring Settings
The Izenda Reports API contains specific settings that alter the behavior of the tool on a per-user basis. Settings can be applied through the Settings.aspx page (please see important information on settings page - this is typically only used for trials and evaluations) or via a CustomAdHocConfig class. Your global.asax should contain a definition for this that inherits from either FileSystemAdHocConfig or DatabaseAdHocConfig. Examples of important settings include the license key, the connection string, and the user name.
Creating Views
Some databases contain complex field names that may be confusing to users. In these situations, it may be necessary to create Views that simplify the data model for the user. Users can be limited to specific views using the AdHocSettings.VisibleDataSources setting.
Applying Branding
There are a few different ways to apply your branding, logo, or header controls to Izenda Reports.
Header Image : The simplest way to apply your logo is to set the "Application Header Image Url" in the "CSS & Images" section of the Settings.aspx page. You can also do it in your global.asax by modifying the AdHocSettings.ApplicationHeaderImageUrl setting.
Master Pages : If you already have an ASP.NET master page, you can apply it to ReportDesigner.aspx, ReportList.aspx, and ReportViewer.aspx. Be careful not to apply a master page or theme to the rs.aspx page as that may interfere with the reporting operation.
IFRAMES or Frames : The Izenda reports pages may be placed inside an IFRAME or FRAME. This would need to be done for ReportDesigner.aspx, ReportList.aspx, and ReportViewer.aspx.
Building Core Reports
The best way to deploy Izenda is to create a small set of base reports that users can then customize. Ideally initial reports should contain the most relevant data sources and fields. It may be beneficial to add summaries and charts to them as well. See the training section for details on how to create various types of reports.
Enforcing Security and User Limitations
The Izenda Reports platform includes a robust and flexible security model which inherits rich security credentials from your application. This example covers how to apply security for most common scenarios by using the InitializeReporting() method to pass user credentials to the Izenda API. This method is normally found in the CustomAdHocConfig class in the Global.asax file.
Assumptions
For demonstration purposes, we will be working with the following information:
- The user has already been authenticated with the application Izenda is embedded into
- The username is stored in a session variable called "UserName"
- The tenant ID is stored in a session variable called "TenantID"
- The user's role is stored in a session variable called "Role"
- The user's country name is stored in a session variable called "UserCountry"
- The database contains tables and views with a field named "ClientID"
- A method named GetUserName() exists in global.asax that accesses the session variable "UserName"
- A method named GetTenantID() exists in global.asax that accesses the session variable "TenantID"
- A method named GetUserRole() exists in global.asax that accesses the session variable "Role"
- A method named GetUserCountry() exists in global.asax that accesses the session variable "UserCountry"
Limitations Enforced
- The user is logged In
- The user can only see records for their ClientID
- The user can only see certain data sources and will not see reports that require unauthorized data sources
- Non-admins will not be able to overwrite reports
- Non-admins will not see the "Admin Reports" and "Sensitive Reports" categories in their report list
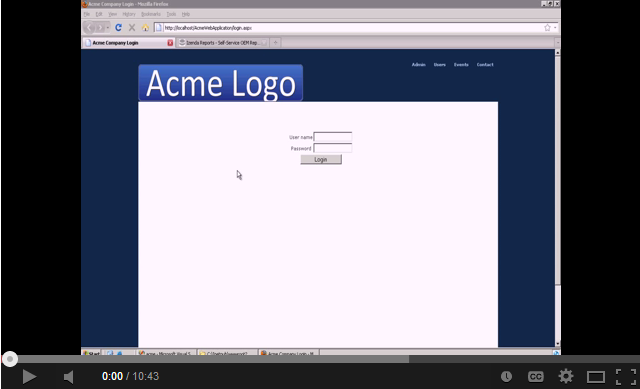
Basic Login Scenario
In this example, we will initialize some of the more common settings. This is done in the InitializeReporting() method of your CustomAdHocConfig class that we discussed earlier. You will have to call the InitializeReporting() method after your user has been authenticated.
//Pass User Credentials
AdHocSettings.LicenseKey = "INSERT_LICENSE_KEY_HERE";
AdHocSettings.SqlServerConnectionString = "INSERT_CONNECTION_STRING_HERE";
AdHocSettings.CurrentUserName = GetUserName();
AdHocSettings.CurrentUserTenantId = GetTenantID();
AdHocSettings.CurrentUserIsAdmin = (GetUserRole() == "Admin");
AdHocSettings.CurrentUserRoles = new string[] {(string)HttpContext.Current.Session["Role"]};
AdHocSettings.VisibleDataSources = new string[]  { "Products", "Orders", "Customers" };
Multi-Role Scenario
Now let's add some logic based on the user's role. In this example, we apply limitations based on whether or not the user is an administrator, report designer, or report viewer. However, your individual roles may vary based on your security model.
Izenda.AdHoc.AdHocSettings.ShowSettingsButtonForNonAdmins = false; //Hides the button that redirects to the settings page for non-admins
if(AdHocSettings.CurrentUserIsAdmin)
{
	Izenda.AdHoc.AdHocSettings.VisibleDataSources = new string[] { "Purchasing.Vendor", "Products", "Orders", "Order Details", "Customers" };
}
else
{
    Izenda.AdHoc.AdHocSettings.HiddenFilters["ShipCountry"] = GetUserCountry(); //Hide data that the user isn't authorized to view
    Izenda.AdHoc.AdHocSettings.VisibleDataSources = new string[] { "Products", "Orders", "Customers" }; //non-admins only see certain data sources
    Izenda.AdHoc.AdHocSettings.OutputTypes["sql"].ShowInToolbar = false; //Hides the SQL output icon on the toolbar for non-admins
    if(new List<string>(AdHocSettings.CurrentUserRoles).Contains("ReportViewer")) {
        AdHocSettings.ShowDesignDashboardLink = false;
        AdHocSettings.ShowDesignLinks = false;
        AdHocSettings.ShowDesignLinkInReportViewer = false;
    }
    else if (new List<string>(AdHocSettings.CurrentUserRoles).Contains("ReportDesigner")) {
        AdHocSettings.ShowMiscTab = false;
    }
}